Got a little bit of time in the shop today, not much..
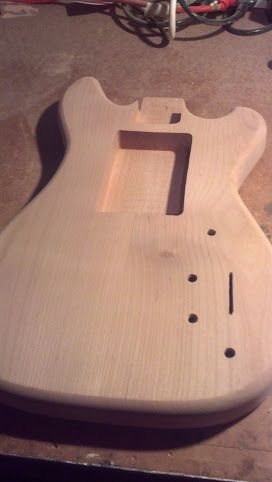
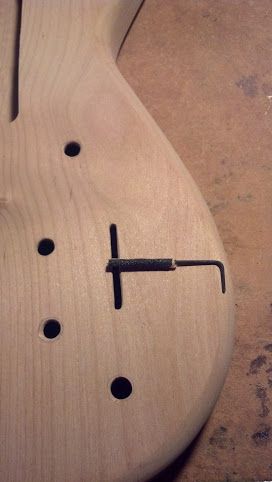
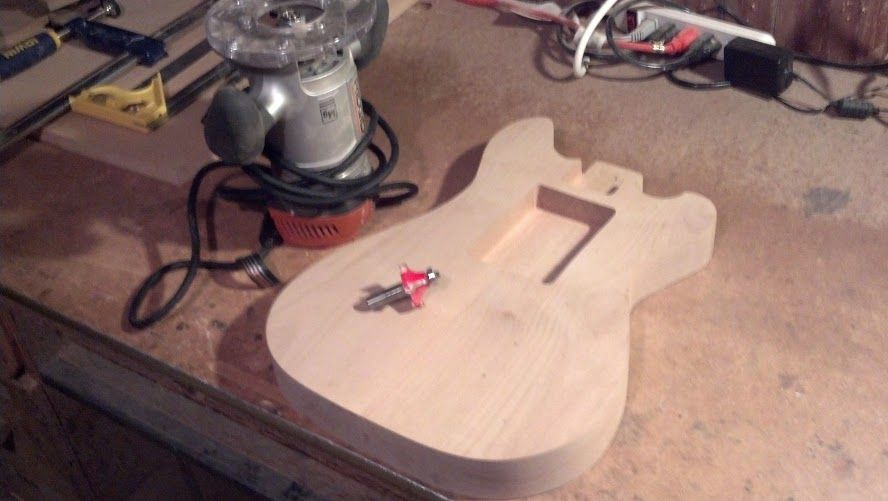
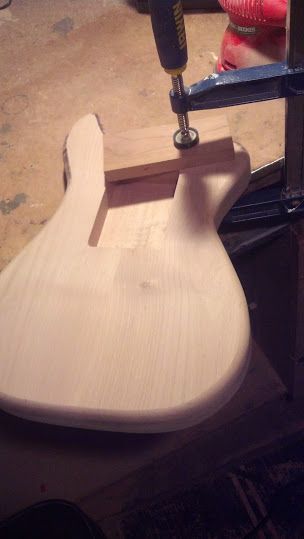
time to start routing those roundovers
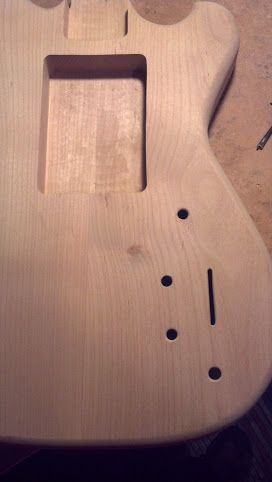
Done with the top
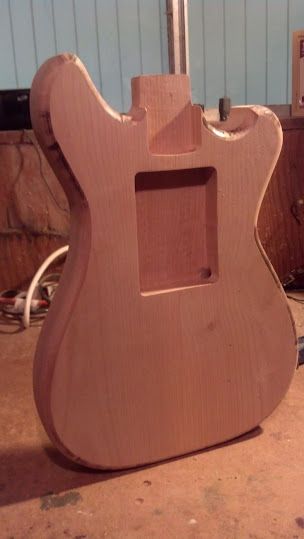
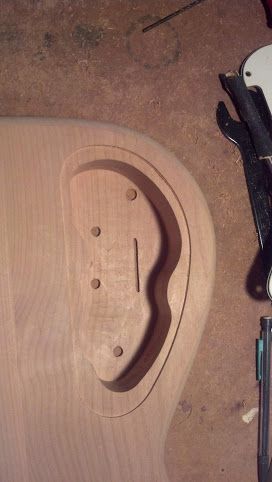
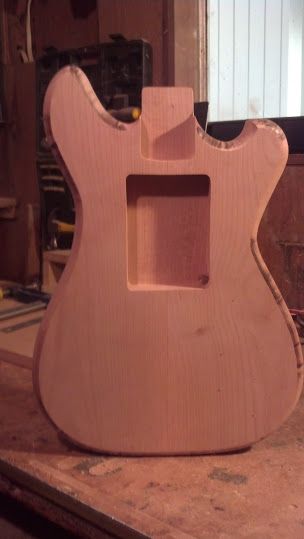
Both sides routed
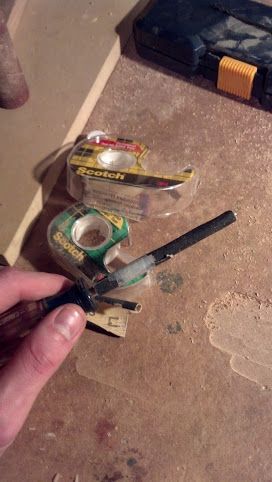
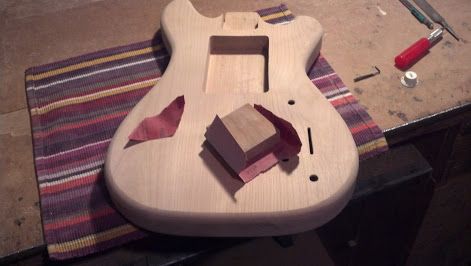
Back to that fancy sanding machine
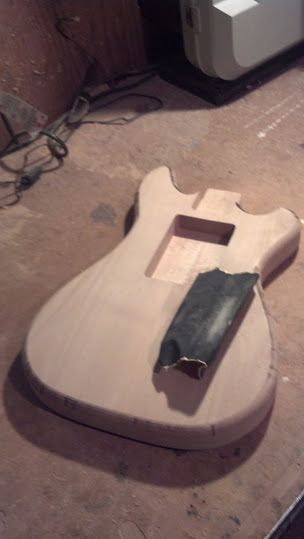
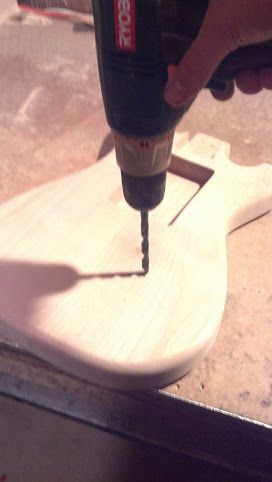
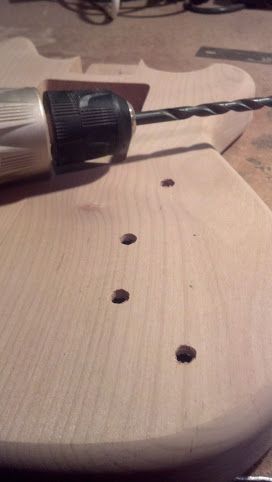
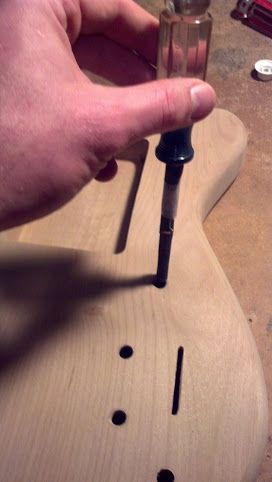
Action shot!!
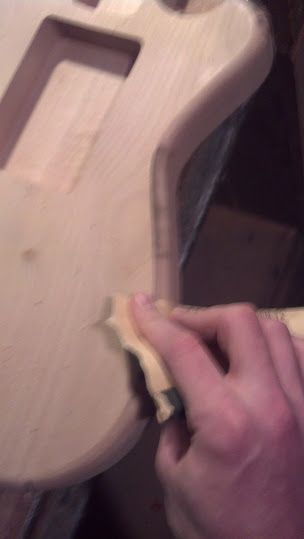
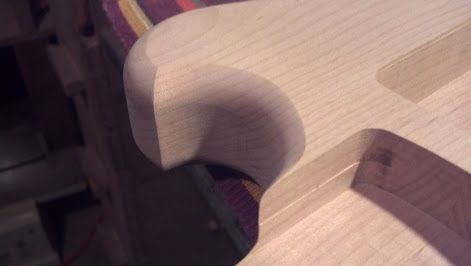
Better..this is going to take a'while, that router burn sure is stubborn
time to start routing those roundovers
Done with the top
Both sides routed
Back to that fancy sanding machine
Action shot!!
Better..this is going to take a'while, that router burn sure is stubborn